3x-ui: clients and the subscription link
The inbound is up — now you have to grant a person access. I'll show you how to create a client in 3x-ui properly (only through the interface, and why that's critical), set limits with an expiry, and hand them a single subscription link instead of a pile of links to each server. Enter your own data in the builder above.
This material covers the engineering of your own network infrastructure and is educational in nature. Complying with the laws of your own jurisdiction is on you.
The main gotcha: create clients ONLY through the UI
Let me start with what everyone who digs into the database by hand bangs their head against. In 3x-ui there's a temptation to add users directly into SQLite (x-ui.db) or edit the Xray config — don't. The panel is the sole owner of the client list. The moment it next rebuilds the Xray config (and it does that on any inbound change), it will wipe the clients you entered around it.
The rule is simple: everything touching clients — only through the panel interface. Then the DB and the live Xray config stay in sync. Dig into the DB and you'll get "the client is in the database but not in the config, and the connection doesn't work," and you'll lose an evening diagnosing emptiness.
Adding a client to an inbound
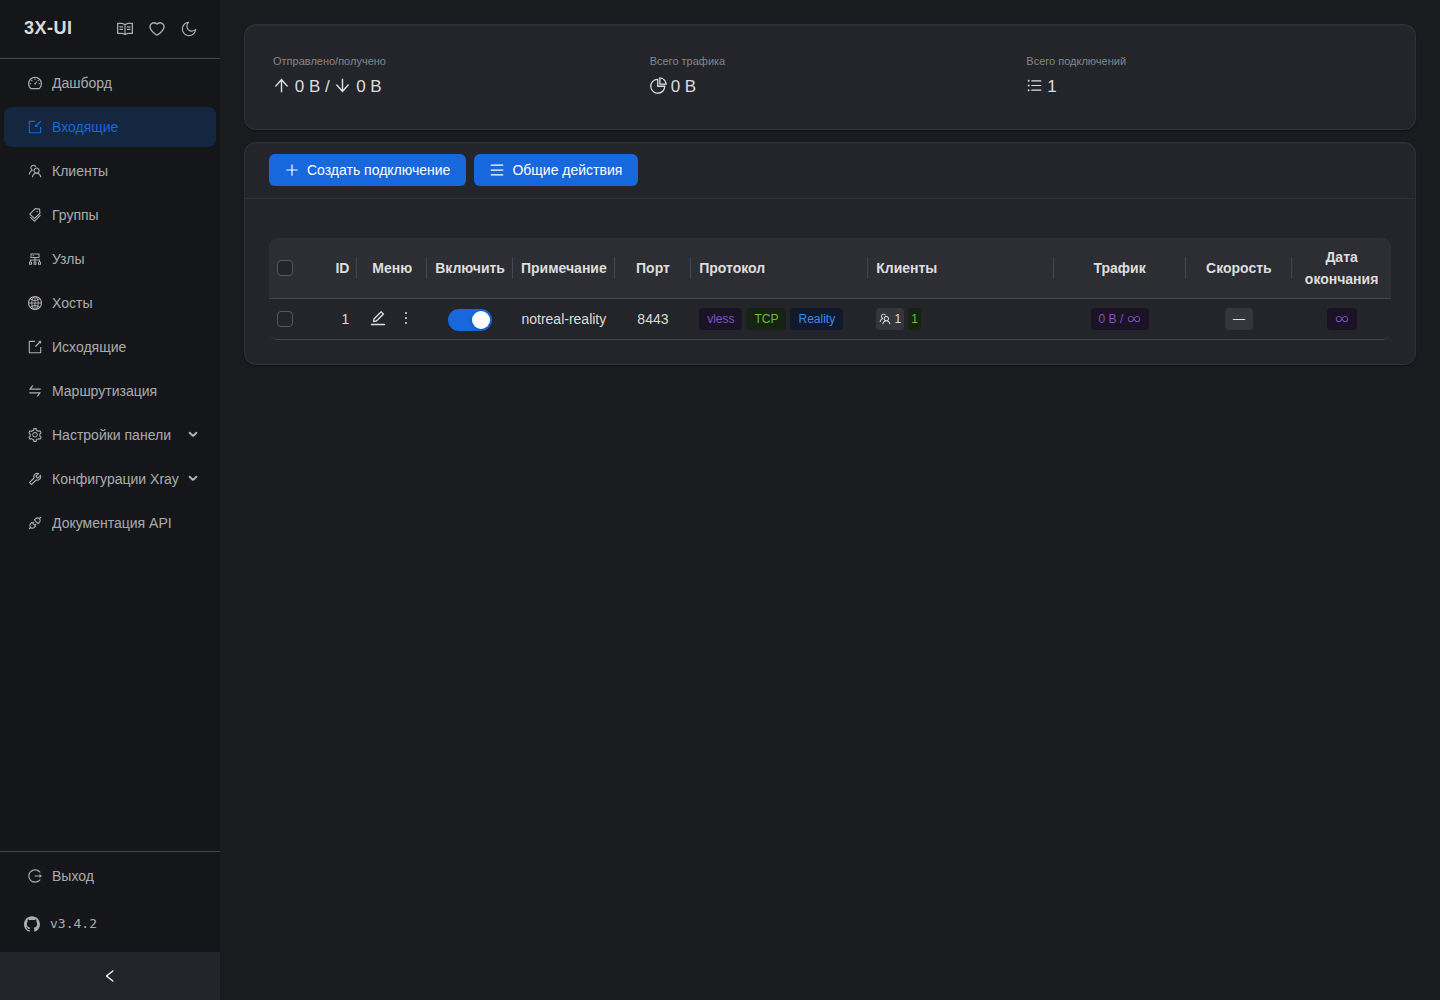
A client in 3x-ui lives inside an inbound. Open Inbounds, click the client count (or "+") on the inbound you want, and the add form opens. Fill in:
- Email / name — this is the client's label, they're identified by it in the statistics. Write something meaningful:
ivan-tg-1204, notclient1. Must be unique. - ID (UUID) — the panel generates it itself (this is the
CLIENT_UUID). The button beside it — a new one. - Flow — for VLESS+Reality over TCP set
xtls-rprx-vision. For XHTTP/gRPC/Hysteria — empty, Vision isn't used there. - Subscription ID / subscription — the client's shared subscription identifier (more on this below).
Saved — the client appears in the config immediately, the panel reloads Xray itself. Nothing to restart by hand.
Limits and expiry
Right there in the client form is what turns "just access" into a managed paying user:
- Total Flow (traffic limit) — how many GB to give.
0— unlimited. The client hits the limit — access is cut automatically. - Expiry time — the date after which the client is disconnected. Handy for "monthly" plans: sold it — set the date.
- IP Limit — how many simultaneous devices to allow. Set 2–3: it's a crude but working defense against one key handed out to half the neighborhood. It doesn't fully cure sharing, but it sets a bar.
Changed a limit or expiry — save, the panel applies it on the fly. A client can be temporarily disabled with the active checkbox, without deleting (handy for freezing / grace for a non-payer).
Turning on the subscription service
Next — what this was all for. Instead of sending a person a bare vless:// link for each server, we hand them one subscription link: the client pastes it into their app and gets the list of all their servers, and you can later change servers without touching the client.
In Panel Settings → Subscription turn on the subscription service and set:
Enable subscription service : yes
Subscription port           : 2096            (or your own, open it in the firewall)
Subscription path           : /sub/           (non-obvious is better)
Domain / URI                : your-domain.com  (or SERVER_IP, if no domain)
Open the subscription port outward:
ufw allow 2096/tcp # the subscription service portSave and restart the panel. Now each client gets their personal subscription link.
Grabbing the link and handing it to the client
In the inbound list, each client has icons: a QR code and a subscription link. The link looks like this:
https://your-domain.com:2096/sub/SUBSCRIPTION_IDThis is exactly what you hand the person — not separate vless:// links. They paste it into a client (Happ, v2rayTun, Hiddify, any xray client) and get all the servers you set up under this Subscription ID. Want to give a person several inbounds in one link — create a client in each inbound with the same Subscription ID: the panel will stitch them into one subscription.
The QR code is handy for mobile: the person scans it with the camera right from the app — and the subscription is imported.
Verification
Grab the test client's link, paste it into a client on your phone/laptop, connect, and check the real exit:
# from a device under the VPN — should show the server's IP, not your home one
curl -s https://api.ipify.org
The server's IP came back — the chain is assembled: client → inbound → internet. An empty subscription almost always means one of two things: the subscription service isn't enabled in the settings, or clients were added around the UI (in the DB) and the panel doesn't see them in the config.
Clients and subscriptions are ready. Next, pick a protocol for the node in the "protocols" branch — start with "VLESS + Reality step by step," it's the base that keeps the inbound alive under DPI.
Next guide The panel in 15 minutes: Remnawave and your first subscription → ↗ Article unclear or something off? Message me and I will help or fix it. @notrealvpn →